Gait and Alignment
Many times when I run in Central Park, I see some elite runners. They look like gazelles. However, sometimes, I will see runners who have knees turned in, toes turned the opposite way, or simply just POUNDING on their feet.
When I teach Yoga, or even strength training, I advocate aligning the hip bone (asis joint) with the knee, and the 2nd toe.
i.e., Squats.
Often trainers will tell students to “bring their feet hip width apart” and perhaps, having read too many magazines with models who are super thin, they bring their feet so wide that they are BEYOND the alignment they could possible sit in or walk in. Imagine the MANSPREAD on the subway. Over time, if clients keep doing “squats” with their feet so beyond the width of their hips, it puts undo strain on the ACL, ankles, and causes many muscle imbalances.
In a squat, the goal is NOT to “go lower”.
A member once wrote a nasty comment via the gym website that “I didn’t go low enough” in my squat. What is “low enough”? If you are compromising form, or bending your back over more to make up for the fact that knees can only bend so much, then this is counterproductive.
When squatting, you should “crease” the hip joint (hip flexors) and imagine a chair being pulled out for you. Reach for the chair with your butt while bending your knees. The chest may tilt slightly forward, but the movement is NOT initiated by bending the upper body into forward flexion. Imagine if you were wearing all white, dry clean only clothing, and were carrying a tray of martinis (or red sauce). You would have a mess if you bent forward with your upper body. Therefore, keep your chest high, hold the platter high, and only angle forward as needed. This way all the work goes into the quads and glutes, and not into the back.

Another drill I like to teach is a step-to 1 leg squat. Take a step to your right, balance on the right leg, and perform 1-3 squats. Then repeat by stepping left. To advance this, take a little hop, and then do 1-3 1 legged squats.
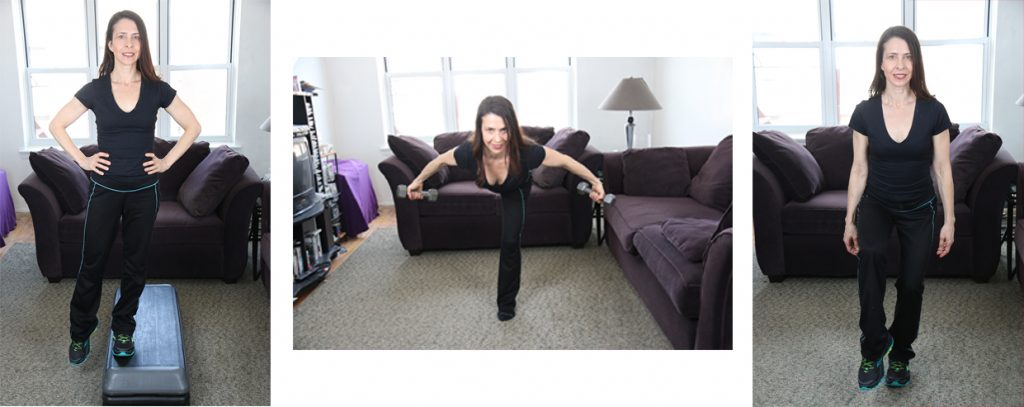
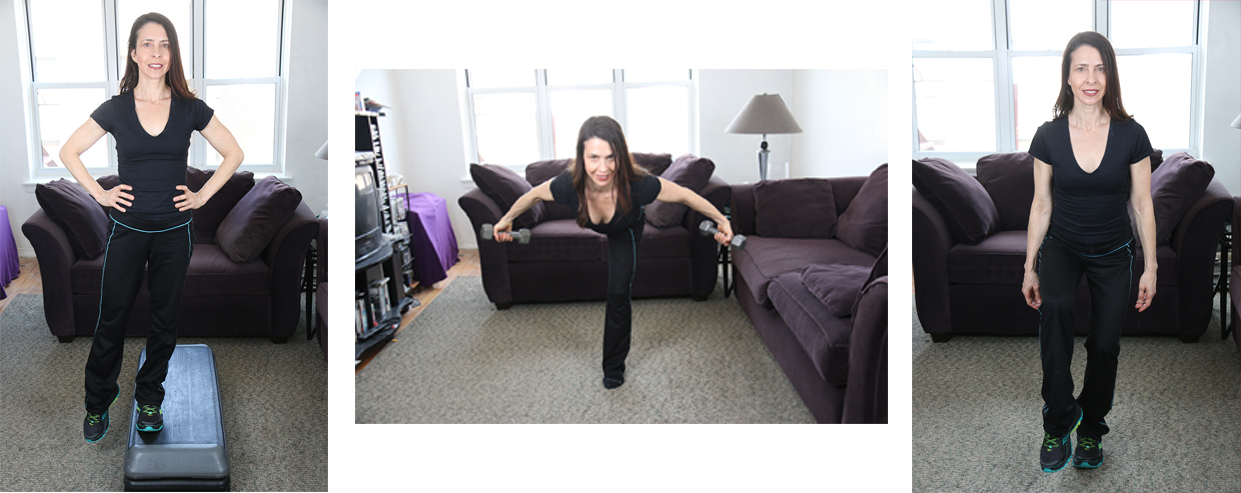
1 leg step ups (pictured above): place 1 foot on a bench laterally. The step should have 2 risers on each side if you are between 5’ and 5’4, and maybe 3 risers if you are above 5’6, and 4 risers if above 6’ tall. Press the weight into the foot that is on the bench and full stand up on this 1 leg. Then sit back down into the squat stance with both knees bent (one will be on the floor).
1 leg dead lifts (pictured above): based on warrior 3: 1 leg is very straight without locking. Like a seesaw, pitch forward by lifting the free leg as high as it can go, but do not round the back, or drop the chest. I also look forward and keep my chest slightly lifted. Recover to upright by raising the gaze. Repeat 4-8 reps per leg.
Sit, stand, raise lower…this is a combination 1 leg squat into 1 leg deadlift (warrior 3). Repeat 4-8 reps.
Practicing 1 legged drills will make it so that when you perform drills such as squats on 2 legs, you will remember that if you were to take 1 leg off the ground, your stance/width should be based on this idea.
This will give you better form for running, and even walking.
The hip, knee, and 2nd toe should always REMAIN FRIENDS in every exercise for better alignment, and pain-free workouts.
Kama Linden has been teaching fitness for over 2 decades. She has taught strength, step, pilates, vinyasa yoga, senior fitness, and has worked with clients and students of all ages and fitness levels. She is certified by AFAA Group Exercise and NASM CPT, as well as 200 hour Yoga. She has a BFA in Dance from University of the ARTS. Her new book, “Healthy Things You Can Do In Front of the TV” is now on sale on amazon.com, BN.com, and Kindle. Visit Kama’s website, bodyfriendlyoga.com, and kamalinden.com.

