3 Curves = Straight: The Importance of Neutral Spine in Exercise
I have been teaching strength training, as well as Pilates based mat and Vinyasa Yoga for over 2 decades. As a former dancer, I know that I was always struggling with having a “flat stomach” or having a “flat back”. Dancers, in trying to achieve that “perfect turnout” and “flatness”, were often taught to “elongate the spine” by “tucking the pelvis” under, which basically leads to a posterior tilt. Unfortunately, this idea is often taught in fitness to the general population. Trainers and teachers alike, some coming from the dance world, will tell students to “protect their back” by tucking the pelvis such as during standing exercises, even bicep curls, or worse, curl their knees into their chest while lying on the ground or bench, and attempting to do a chest press. Students will be so conditioned to this ROUND SPINE and TUCKED PELVIS, that eventually when they stand, this is their posture. Over time, the discs can bulge, and the forward pelvis will eventually lead to lower back pain they were trying to avoid, as well as knee pain and other issues.
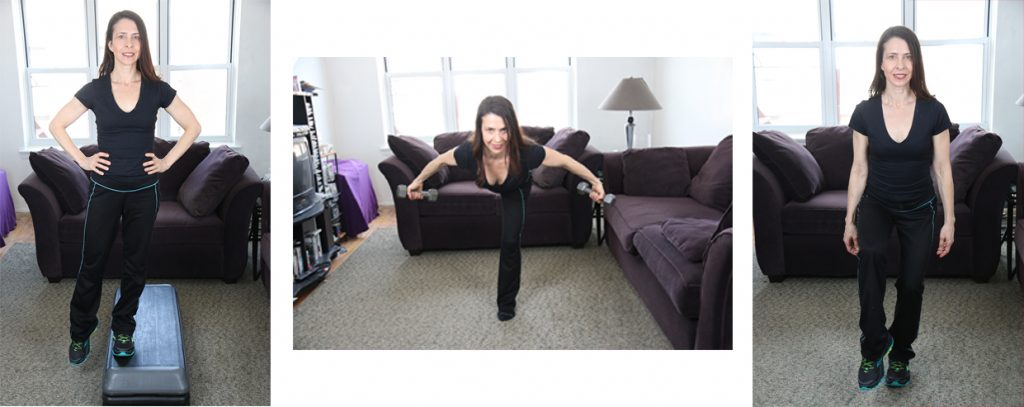
I am a reformed pelvic tucker. I advocate neutral spine when teaching, whether it be standing work such as bicep curls, pronated work such as plank and push-ups, or supine work such as leg lowers and overhead triceps.
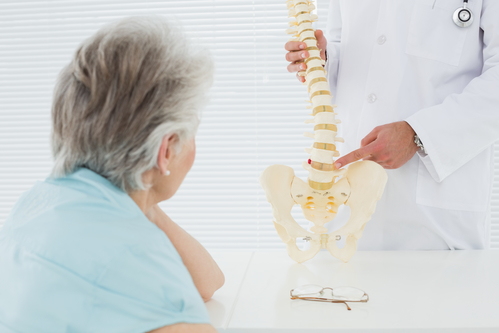
The spine has 3 curves: the cervical spine (at the neck) has a concave curve, the thoracic spine (back of the rib cage) has a convex curve, and the lumbar spine (lower back) has a concave curve. And if you want to add a 4th, the pelvis/sacrum has a convex curve as well.
Together, this “S” shape is what keeps a body “straight”. Constantly flattening one’s back or pushing one’s vertebra into this position will eventually damage them. Plus you have to learn to CONTAIN YOUR MUSCLES, not force your vertebrae. There is a moment when the base of your ribs and your pelvic bone will feel like they are aligned in the front, like suspenders. Whatever curves are left over should remain.
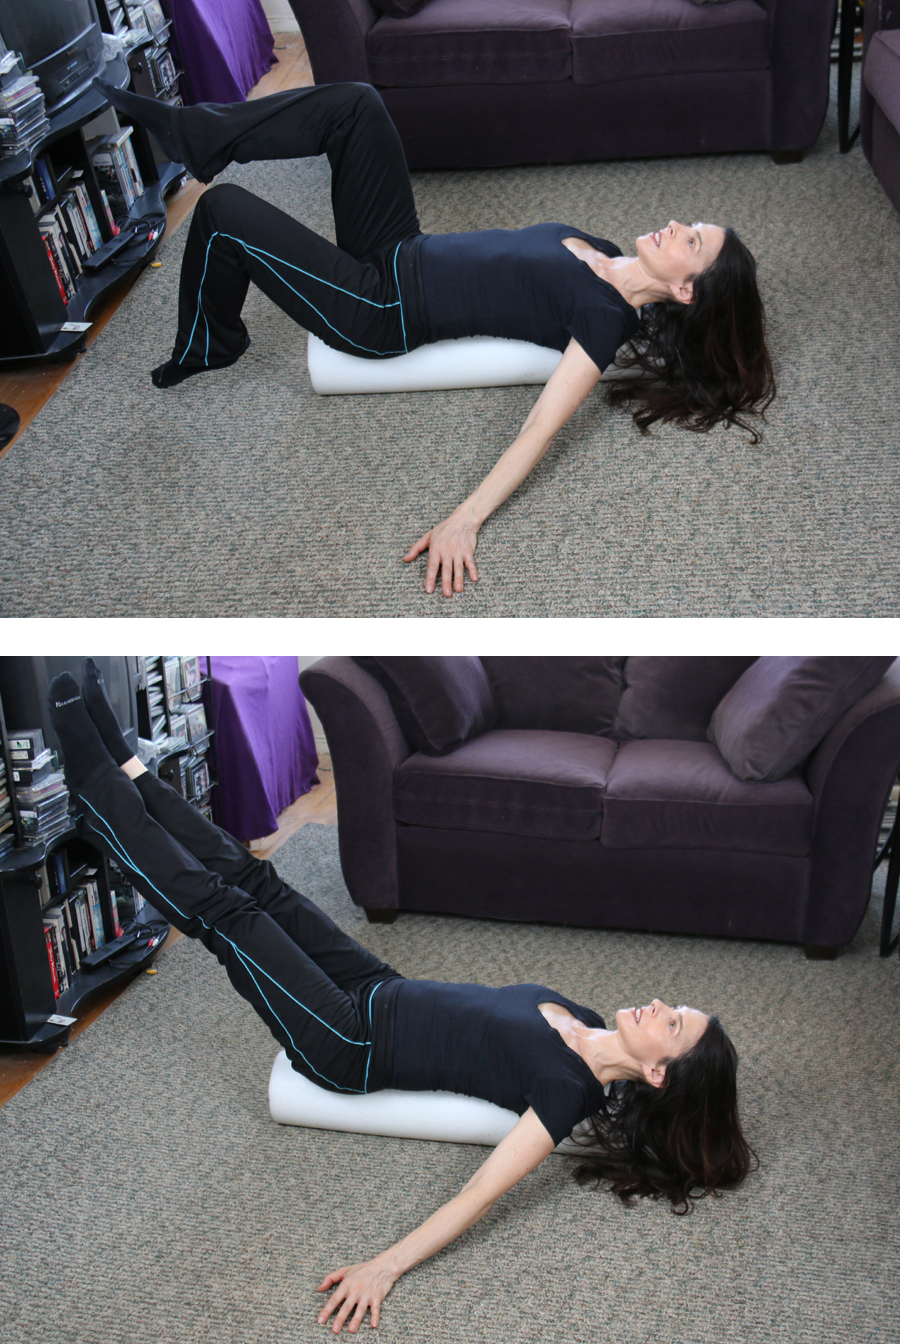
Sometimes I do my supine abdominal work as well as strength training on a foam roller (pictured at right). This way there is no avoiding working in neutral spine. Plus, the foam roller will target the transverse abdominus as you are struggling to keep the foam roller still while performing exercises such as chest press, chest flies, overhead triceps, single and double leg lowers, etc.
Another bad habit that trainers and teachers tell their clients and students is to “sit on their hands” while performing exercises such as leg lowers. This is BAD for every reason. Your hands have small bones and veins which are easily damaged by sitting on them. Say you are 200+lbs, and you are putting all of your body weight on your hands! This is not good! I often joke and tell my students “I am a guitar player! I am not going to sit on my money makers!” Also, sitting on your hands again causes the pelvis to tuck, and the shoulders to protrude forward. By teaching this, you are telling your clients and students to “slouch”. You have not taught them how to gain strength by maintaining neutral spine. Third, more often than not, the reason the clients are feeling “pain” in their lower back is they are attempting to lower their legs beyond the range where the abdominals are effective. For me, about a 45 degree angle from the top is plenty of work. Attempting to lower one’s legs all the way to the floor and back will usually be out of the range of someone’s abdominal strength. Find a range of motion where the abdominal muscles fell the work, and the lower back is not effected. You can also put your client on the foam roller, or if you do not have a foam roller, place a thin towel under the sacrum to alleviate any pain the floor may be causing, as well as teach neutral spine.

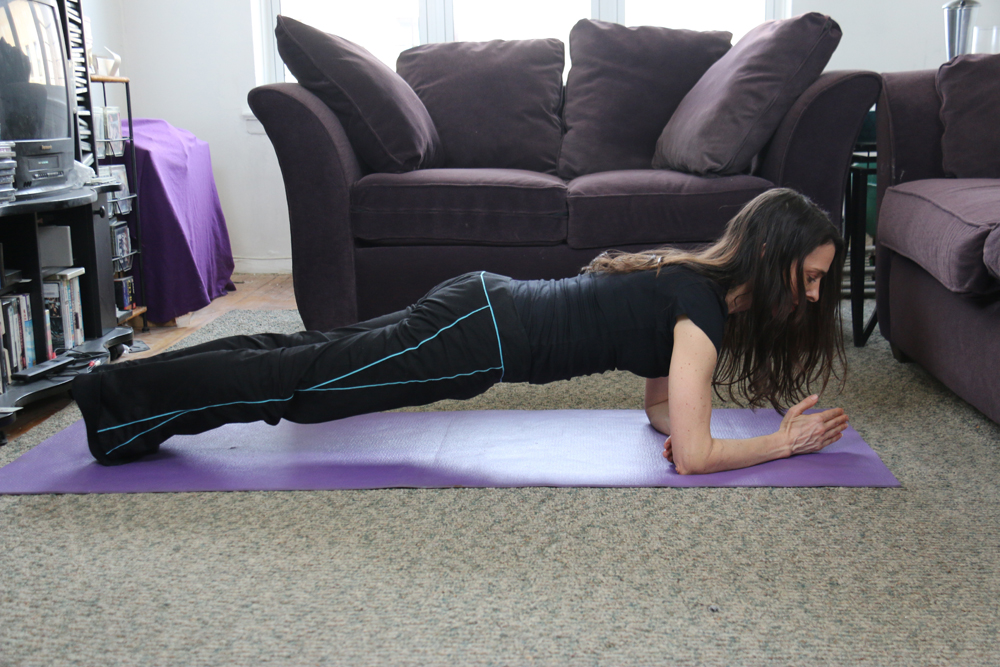
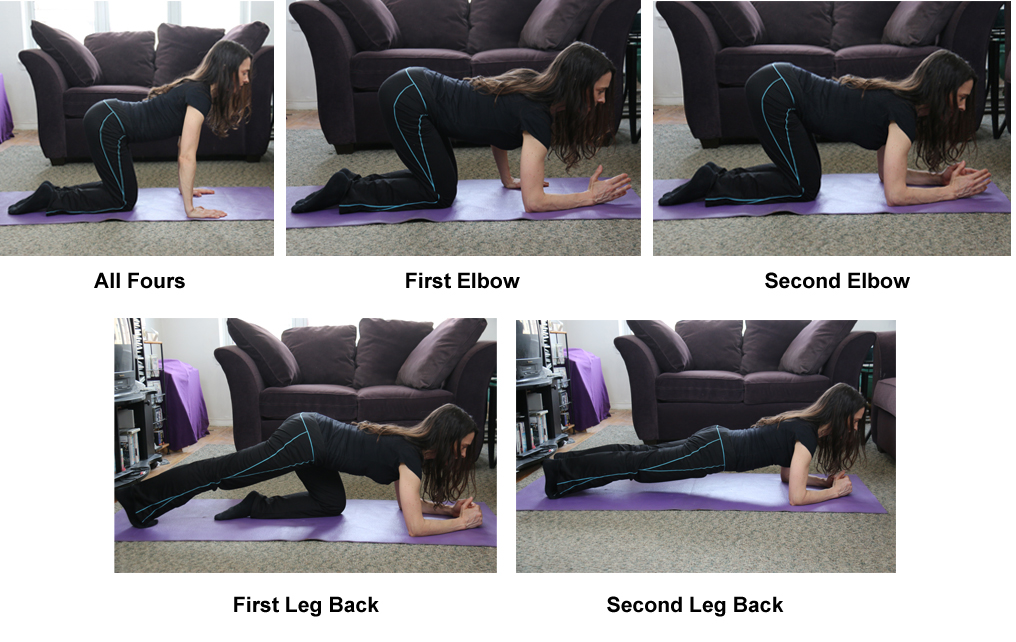
For “plank”, I often joke (as I am a realtor as well) that “if the plank is not straight, I am returning it to aisle 4 in Home Depot”. People tend to hang their heads when something is difficult. I advocate looking a few floor boards ahead while performing plank, as well as push-ups, and to use a side mirror to check that the line of the head, shoulders, ribs and hips are aligned, while keeping the natural lumbar curve. Again, the ribs and hips should feel like suspenders. Push-ups are basically a “plank with an arm bend and straighten”. So it is important not to hang one’s head, especially when the floor is getting close :). (Planks pictured at right)
In closing, remember that you want to teach your students functional exercises that will help them out in the real world. Teaching neutral spine alignment is one of the most important ideas. You would never want to lift a box with a rounded, tucked spine, so why teach clients to “tuck their knees into their chest” while performing chest press? Sometimes it will take some time for a client to undo these bad habits, but in the end, clients will be stronger, and use the transverse abdomens vs poor alignment to perform daily tasks.
Photos courtesy of ANDREW MARK PHOTO.
Kama Linden has been teaching fitness for over 2 decades. She has taught strength, step, Pilates, Vinyasa Yoga, senior fitness, and has worked with clients and students of all ages and fitness levels. She is certified by AFAA Group Exercise and NASM CPT, as well as 200 hour Yoga. She has a BFA in Dance from University of the ARTS. You can order her new book, “Healthy Things You Can Do In Front of the TV” on Amazon and Kindle.


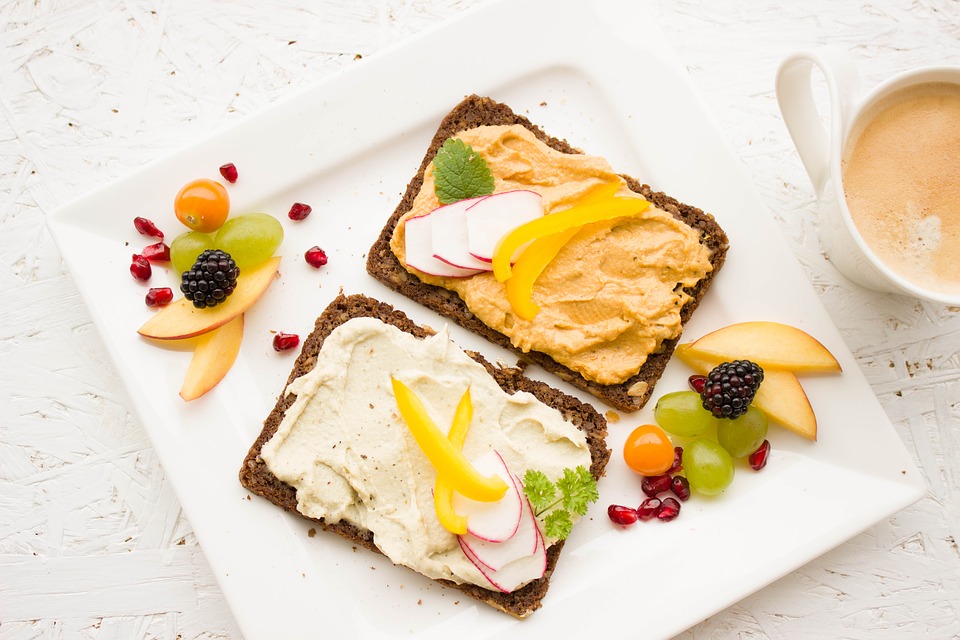 Also, there is a beauty in eating from a color palette. Having red, such as red peppers and watermelon; orange — baby carrots; yellow — pre-cut peppers and mangoes; green — celery, spinach, lettuce, honeydew; blue — blueberries; purple — beet juice (which is made for us in a juice press or machine). It’s so much more satisfying than having your typical beige and brown food (unless you include hummus and almond butter!).