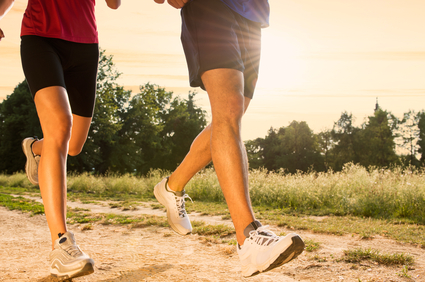
Women Are More Susceptible To ACL Injuries: 5 Essential Exercises To Minimize The Risk
Women have different biomechanics due to a slightly wider pelvis, which means their knees buckle more easily when landing from a jump. Women have looser joints, which is a risk factor for knee problems, and muscular, strength and hormonal issues also play a part.
The ACL provides the knee joint with stability and rotational control during movement. When an ACL tear happens, hearing or feeling a ‘pop’ at the time of injury is common. This is followed by localized swelling at the knee joint.
An ACL injury can occur in several ways:
- Rapid change of direction
- Sudden stop
- Sudden deceleration while running
- Landing incorrectly after a jump
- Hyperextension of the knee
- Direct contact or collision while playing a sport
If you experience any sharp or sudden pain at the knee, especially during sports or from a fall, follow the First Aid RICE protocol immediately — Rest, Ice, Compress, Elevate — and seek medical attention immediately.
There isn’t much you can do once the injury happens, but there are ways to minimize the chance of it happening in the first place. Prevention is better than cure so focus on strengthening the kinetic chain and muscles around the knee. If you do lots of sport with plyometric movements, ensure your technique and form is correct, and include agility drills for neuromuscular control.
Here are 5 essential exercises to help stabilize and strengthen your knees, hips and glutes, which in turn will help prevent an ACL injury.
Single Leg Deadlift
Ensure that your knee doesn’t buckle and aim to keep your hips level. Keep your spine neutral and braced throughout the entire movement while maintaining balance.

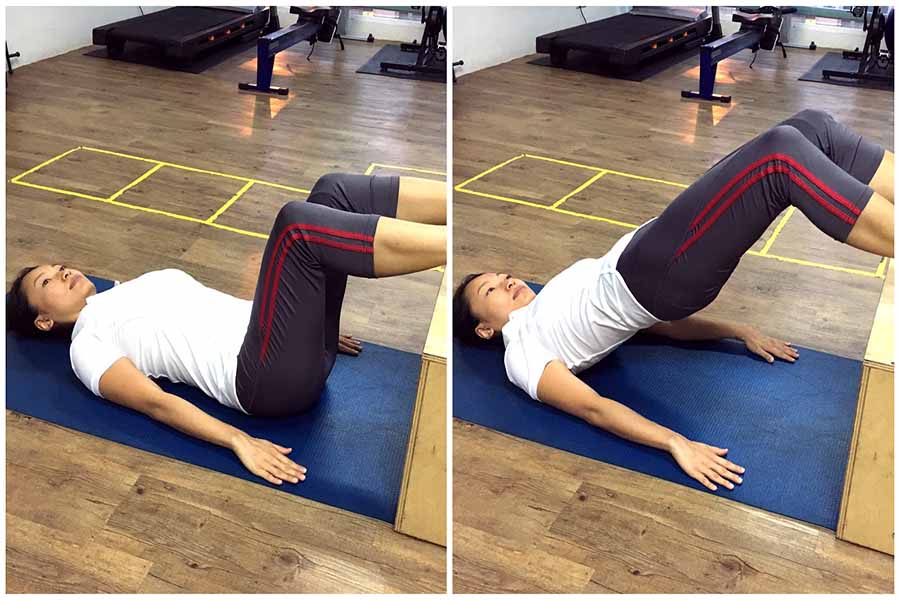
Elevated Hip Raise
This exercise targets the hamstrings and calves. Maintain a neutral spine throughout the range of movements.
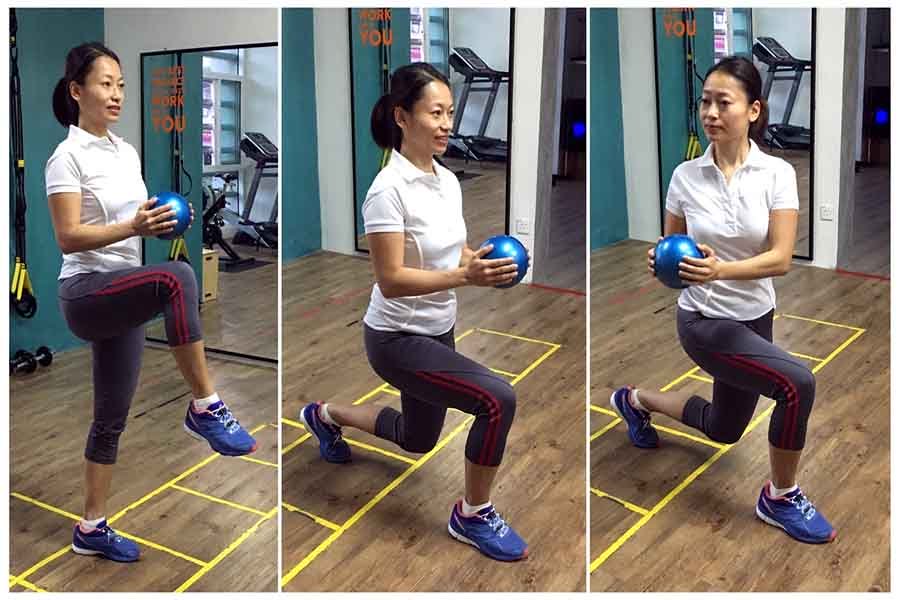
Walking Leg Lunges with Torso Rotation
Maintain an upright torso with your hips squared. If you feel a sharp pain in your knee at any time during this exercise, stop and seek advice from a qualified trainer.
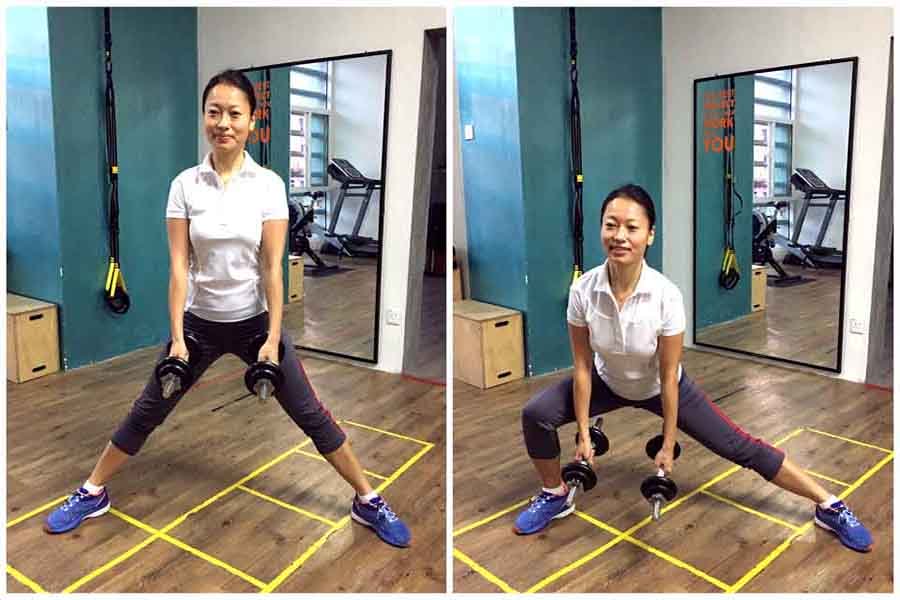
Lateral Squats
Begin by placing your feet wide apart, then shift your weight from left to right while placing most of your body weight on the heels of your feet. If you feel a sharp pain in your knee at any time during this exercise, stop and seek advice from a qualified trainer.
Reprinted with permission from www.purelyb.com
Ke Wynn Lee is an author and an international award-winning corrective exercise specialist who currently owns and operates a private Medical Fitness Center in Penang. Apart from coaching, he also conducts workshops and actively contributes articles related to corrective exercise, fitness & health to online media and local magazines.

 Lately I can’t go to the gym without someone coming up to me looking for advice because in their efforts to remain fit and active they have hit a roadblock. Something hurts- a sore knee, achy shoulder or bad back that goes out more than they do. Ditto for my practice where I have seen a significant increase in exercise related ailments. I should give out orthopedic frequent flyer miles.
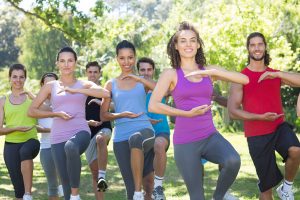 Step 2 thru 7 allow you to customize a program for your unique frame (based on the self-test and your own history) focusing on balanced workouts, frame-friendly nutrition and the important role of recovery and mindset. The program combines healing and restorative methods from the worlds of rehabilitation, martial arts, and yoga in a way never presented before. A “troubleshooting” section teaches you how to prevent, treat and safely work (out) around the “Top 20” sports medicine ailments from tendinitis and knee problems to back pain and pinched nerves. I also offer an insiders view of safely navigating the healthcare system, including a look into the very promising future for those with stubborn musculoskeletal issues. Most importantly, I use stories, drawn from my experience treating many wonderful athletes, entertainers and my many patients to help you better understand, and listen to your body- so that you can extend the warranty on your frame and it will be there for you when you go the distance. Remember,
 Active rest defined: “Involves performing light exercises that stimulate the recovery process without imposing undue stress on the injured body part.”
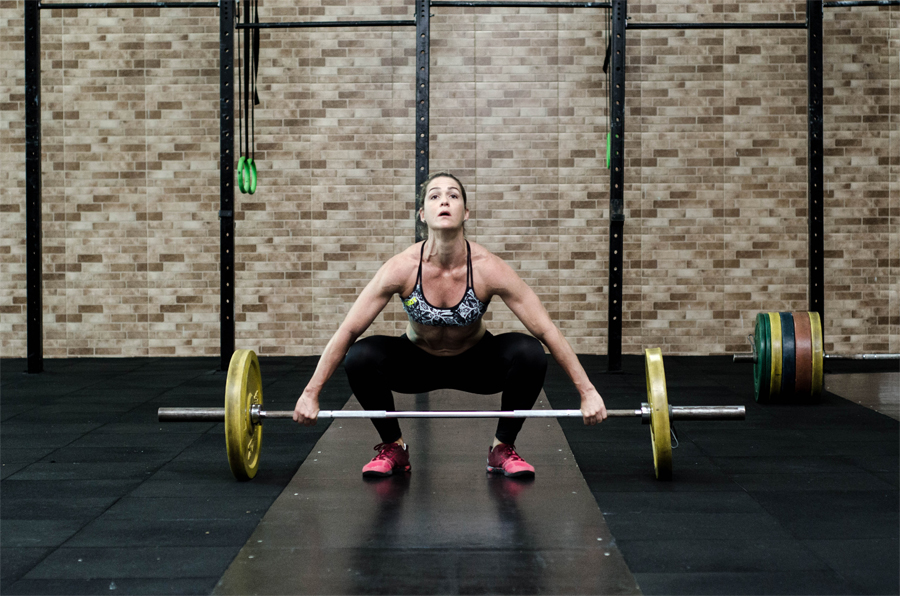
 This commonly affects runners and joggers. Not only does this hurt like hell, it could also bench you for an entire month. If you’re a fitness fanatic like me, then that is a nightmare of profound proportions. You can easily get this running outside in uneven terrains like a rocky pathway.
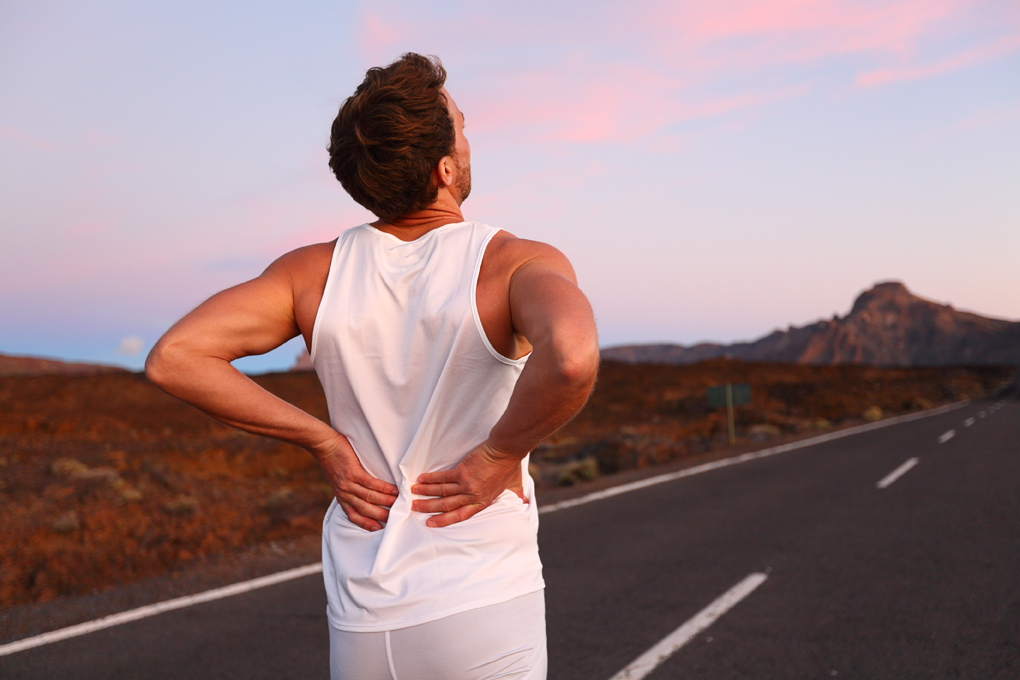 A sudden pain in your lower